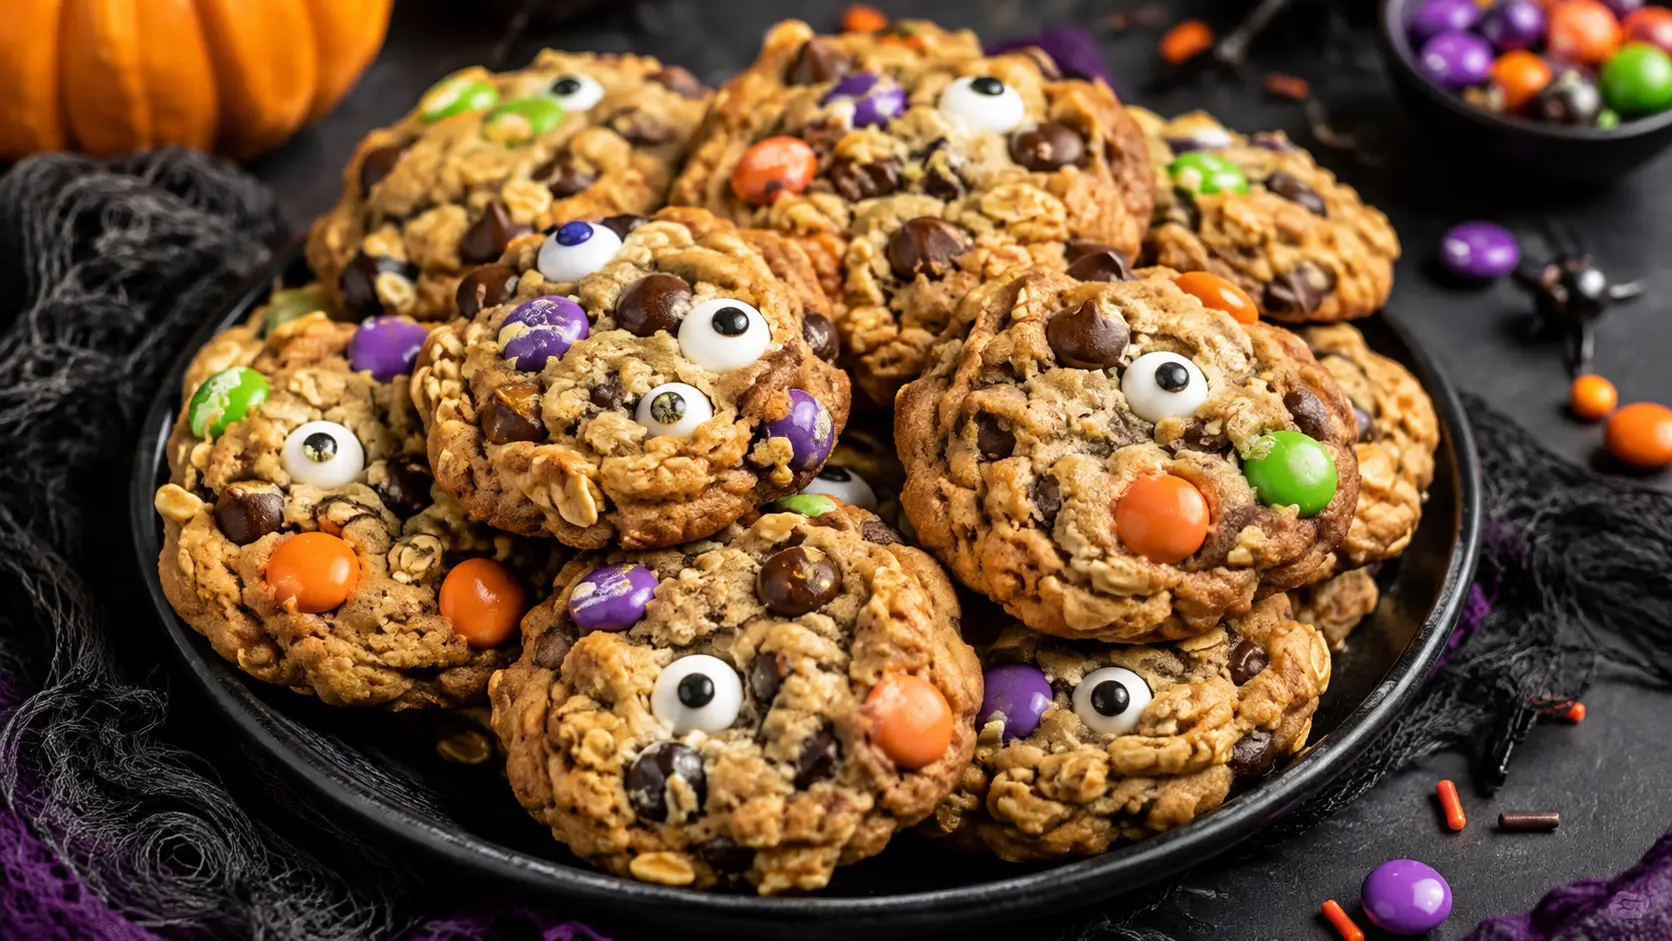
The first bite gives you a soft center, a little chew from rolled oats, and pockets of chocolate and candy. These Soft and Chewy Halloween Monster Cookies are colorful, hearty treats made with peanut butter, oats, chocolate chips, and Halloween-colored candy-coated chocolates.
They’re ideal for Halloween parties, classroom treats, bake sales, or a large cookie tray because the recipe makes about six dozen cookies. The dough comes together in one very large bowl, and the cookies bake at a steady 350°F until the edges are lightly browned.
Why You’ll Love This Recipe
- Makes approximately 72 cookies, making it useful for parties and gatherings.
- Combines peanut butter, rolled oats, chocolate chips, and candy-coated chocolates.
- Bakes at 350°F in a straightforward drop-cookie method.
- Produces cookies with lightly crisp edges and soft, chewy centers.
- Halloween-colored candy gives the cookies a festive look without changing the dough.
Ingredients
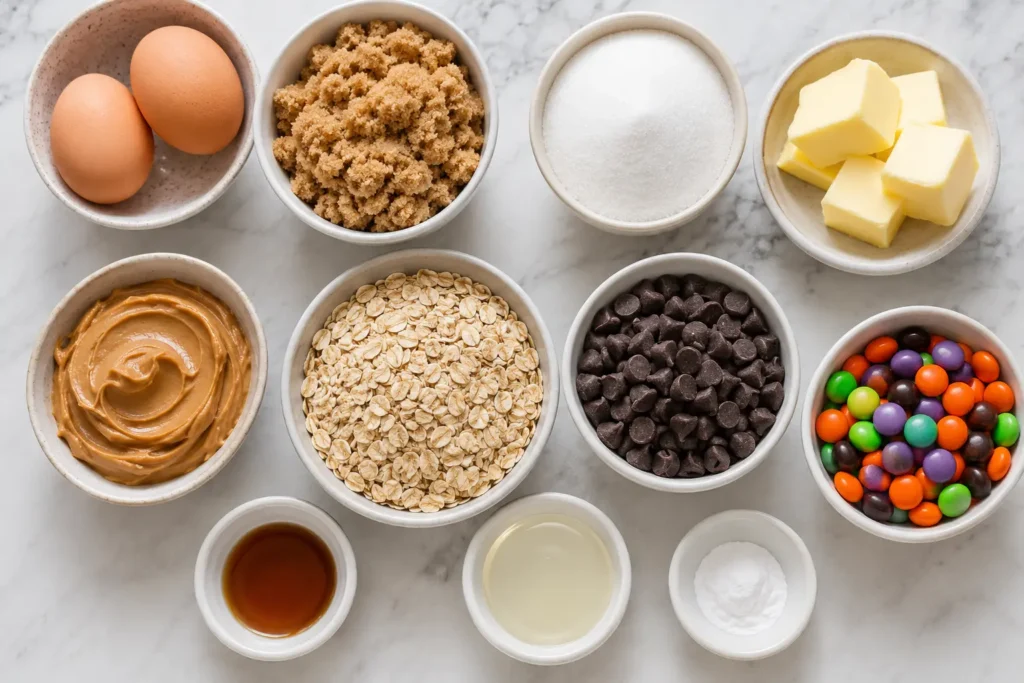
- 3 large eggs
- 1½ cups packed brown sugar
- 1 cup granulated sugar
- 1 tsp vanilla extract
- 1 tsp light corn syrup
- 2 tsp baking soda
- ½ cup butter, 113 g
- 1½ cups creamy peanut butter, about 375 g
- 4½ cups rolled oats, approximately 405 g
- 1 cup semisweet chocolate chips, about 170 g
- 1 cup candy-coated milk chocolate pieces, about 170 g
Use rolled oats rather than instant oats for the fuller, chewier texture associated with monster cookies. Because this is a large batch, prepare a very large mixing bowl before you begin.
How to Make This Recipe
Step 1: Prepare the Oven and Mixing Bowl
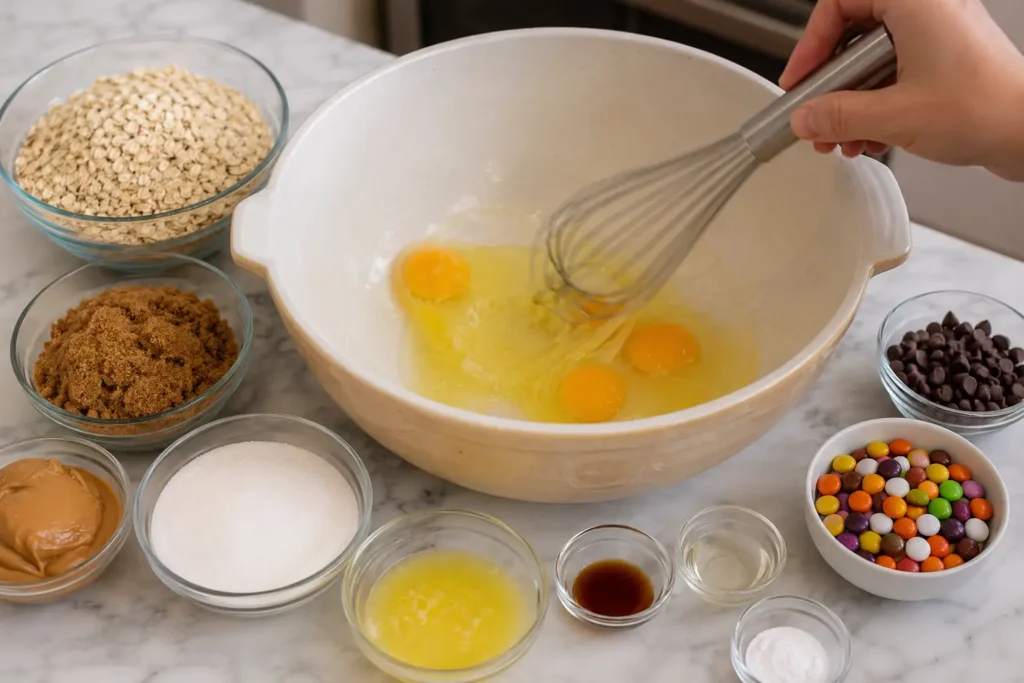
Preheat the oven to 350°F (175°C). Set out a very large mixing bowl, an electric mixer or sturdy mixing spoon, ice-cream scoop, ungreased cookie sheets, and a cooling rack. The finished dough is substantial, so a small bowl may overflow while you mix in the oats and candy.
Step 2: Mix the Cookie Dough
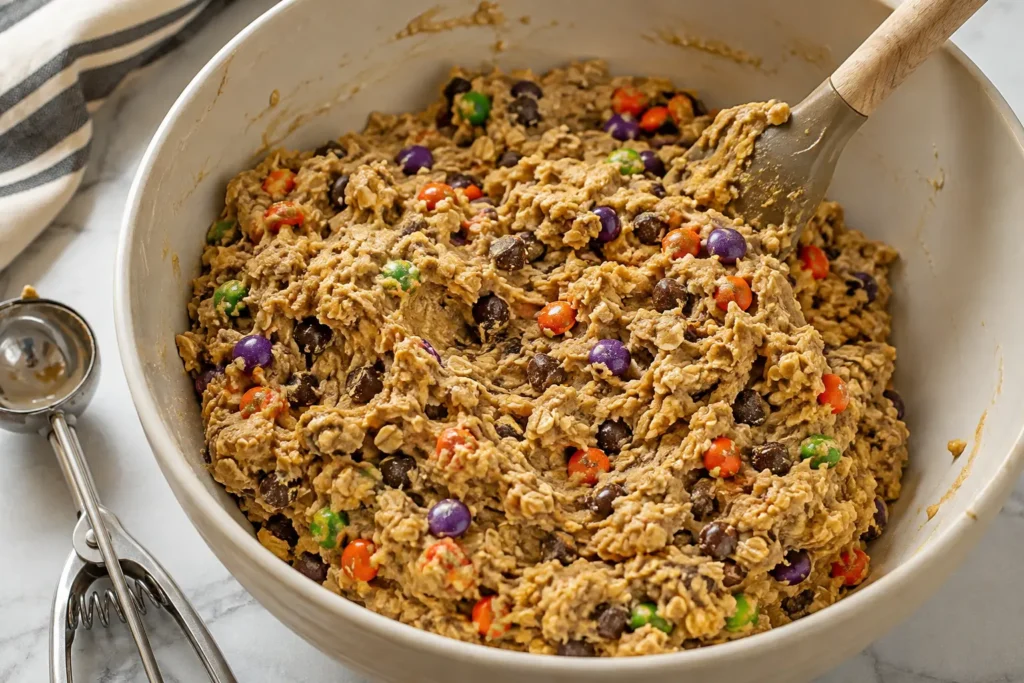
Beat the eggs in the large bowl. Add the brown sugar, granulated sugar, vanilla, corn syrup, baking soda, butter, peanut butter, rolled oats, chocolate chips, and candy-coated chocolates in the listed order, mixing well after the additions. Stir until the dough is evenly combined and the candy is spread throughout.
Pro Tip: Scrape the sides and bottom of the bowl as you mix. This helps prevent pockets of peanut butter, butter, or dry oats from remaining unmixed.
Step 3: Portion the Cookies
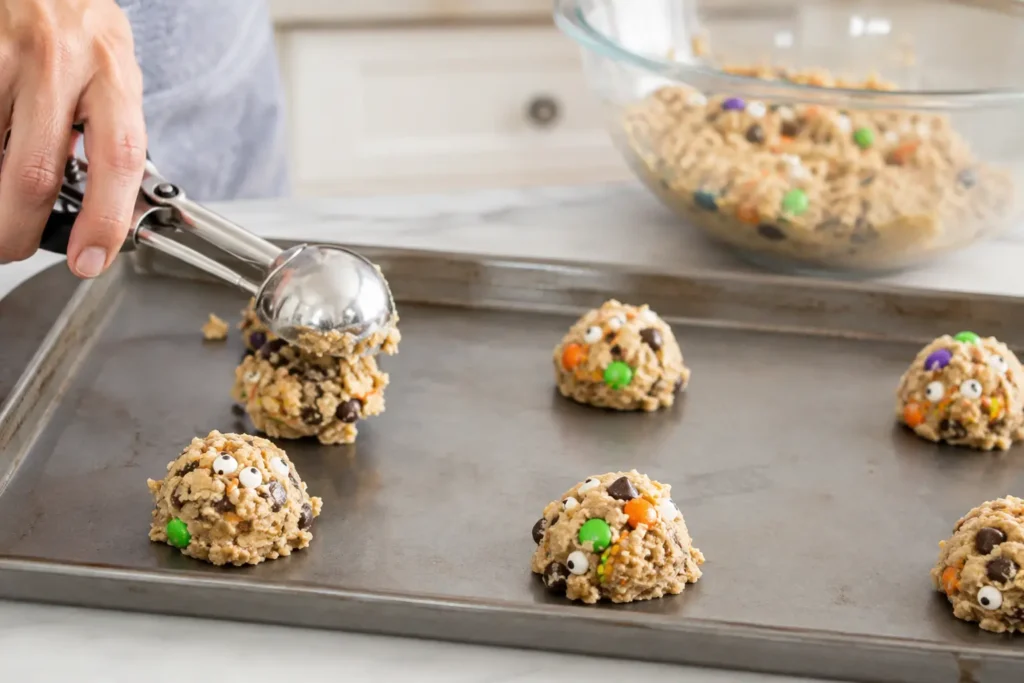
Use an ice-cream scoop or large cookie scoop to portion the dough onto ungreased cookie sheets. Leave enough room between portions for the cookies to spread as they bake. Keep the portions as even as possible so the cookies finish at about the same time.
Avoid packing the dough tightly into a small scoop. A loose, evenly portioned mound bakes more consistently and helps the centers stay tender.
Step 4: Bake and Cool
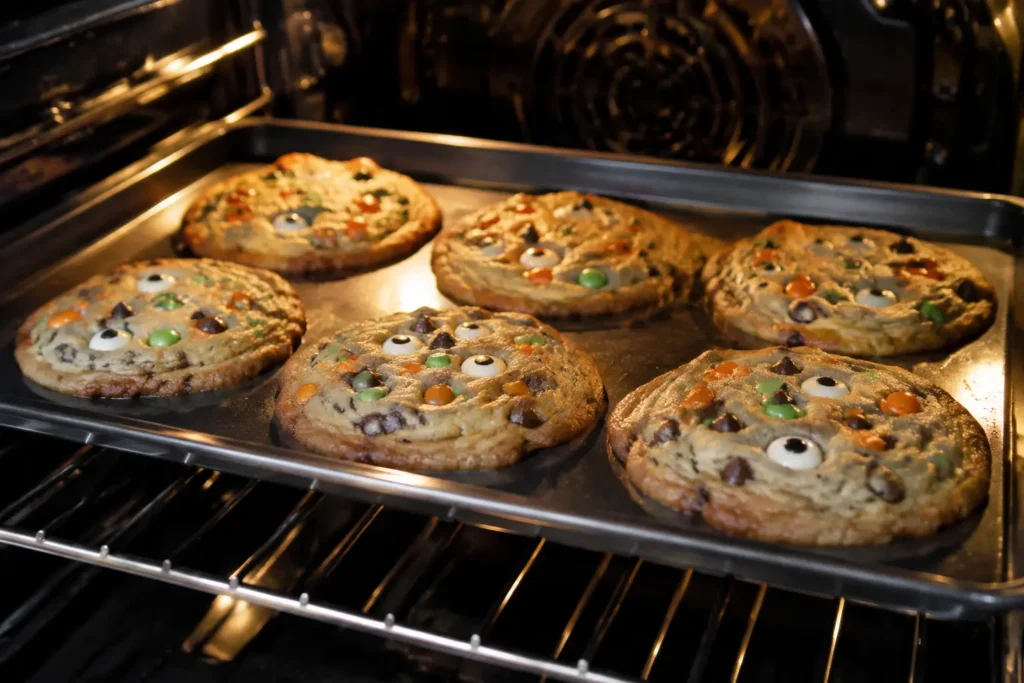
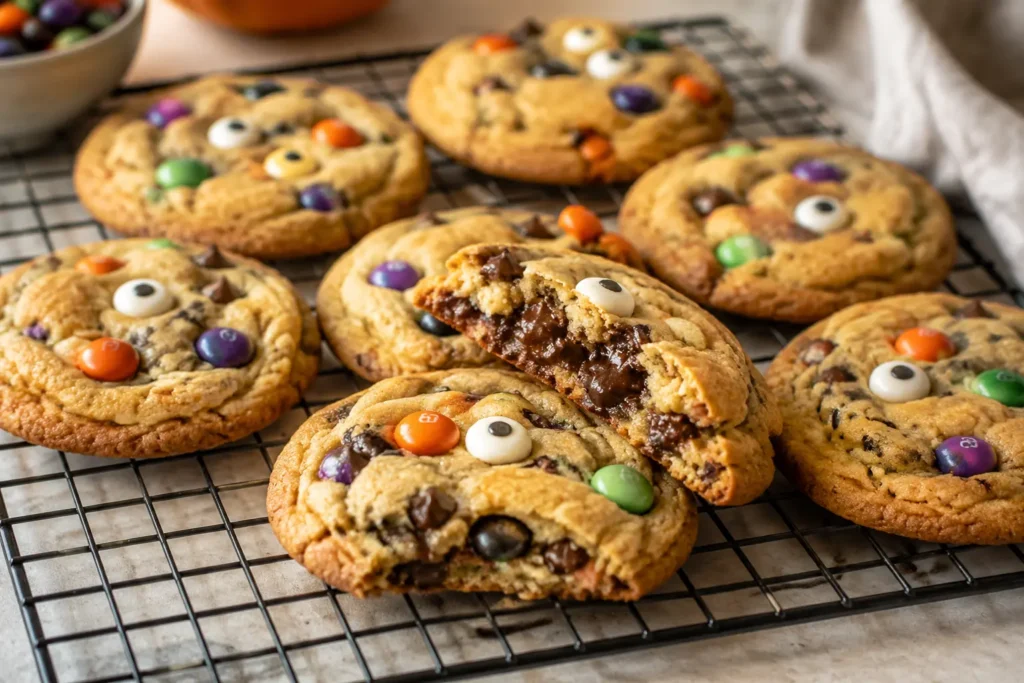
Bake the cookies at 350°F for 12–15 minutes. Look for edges that are set and lightly browned while the centers remain somewhat soft. Remove the pan before the cookies become deeply browned; they will continue to firm as they cool. Let them rest on the cookie sheet until stable enough to transfer to a cooling rack.
A common mistake is judging doneness only by a completely firm center. That can lead to dry cookies after cooling. The soft center is expected immediately after baking.
Expert Tips for Better Results
- Use a very large bowl because this recipe makes approximately six to seven dozen cookies.
- Measure the rolled oats and sugars carefully so the dough maintains the intended balance.
- Keep the cookie sheets ungreased, as specified in the method.
- Use an ice-cream scoop for more even portions and more consistent baking.
- Watch the edges closely during the 12–15-minute window.
- Allow the cookies to firm before moving them; warm centers can break if transferred too soon.
Variations
- Use Halloween-colored candy-coated milk chocolate pieces for orange, black, purple, green, or other seasonal colors.
- Use butter in place of margarine if following the butter version of the formula.
- Candy eyes may be pressed onto the warm cookies immediately after baking for an additional monster look.
- If using candy eyes, add them while the cookies are still warm so they adhere more easily.
Serving Suggestions
- Arrange the cookies on a black, orange, or purple serving platter for a simple Halloween display.
- Serve them with cold milk, hot cocoa, or coffee to balance the sweet candy pieces.
- Pack individual cookies in clear treat bags for classroom or party favors.
- Add the cookies to a dessert table beside brownies, popcorn, or fruit for contrasting textures.
- Serve them after they have cooled fully, when the centers have developed their soft, chewy texture.
Storage and Reheating
- Store cooled cookies in an airtight container at room temperature for up to 4–5 days.
- Place parchment between layers if the candy decorations are likely to rub against one another.
- Freeze fully cooled cookies in a freezer-safe bag or container for up to 3 months.
- Thaw frozen baked cookies before serving.
- Portion unbaked dough onto a lined sheet pan, freeze until firm, and transfer the dough portions to a freezer-safe bag for up to 3 months.
- Bake frozen dough portions until the edges are lightly browned and the centers are still soft; the baking time may need to increase.
- Reheat an individual baked cookie briefly in the microwave if desired. Reheating will make the cookie softer and may warm the candy pieces.
Ingredients
Method
- Preheat the oven to 350°F (175°C). Prepare a very large mixing bowl, ungreased cookie sheets, an ice-cream scoop, and a cooling rack.
- Beat the eggs. Add the remaining ingredients in the listed order, mixing well until the dough is evenly combined.
- Scoop the dough onto ungreased cookie sheets, leaving space between portions.
- Bake for 12–15 minutes, until the edges are set and lightly browned while the centers remain soft. Cool before transferring to a rack.