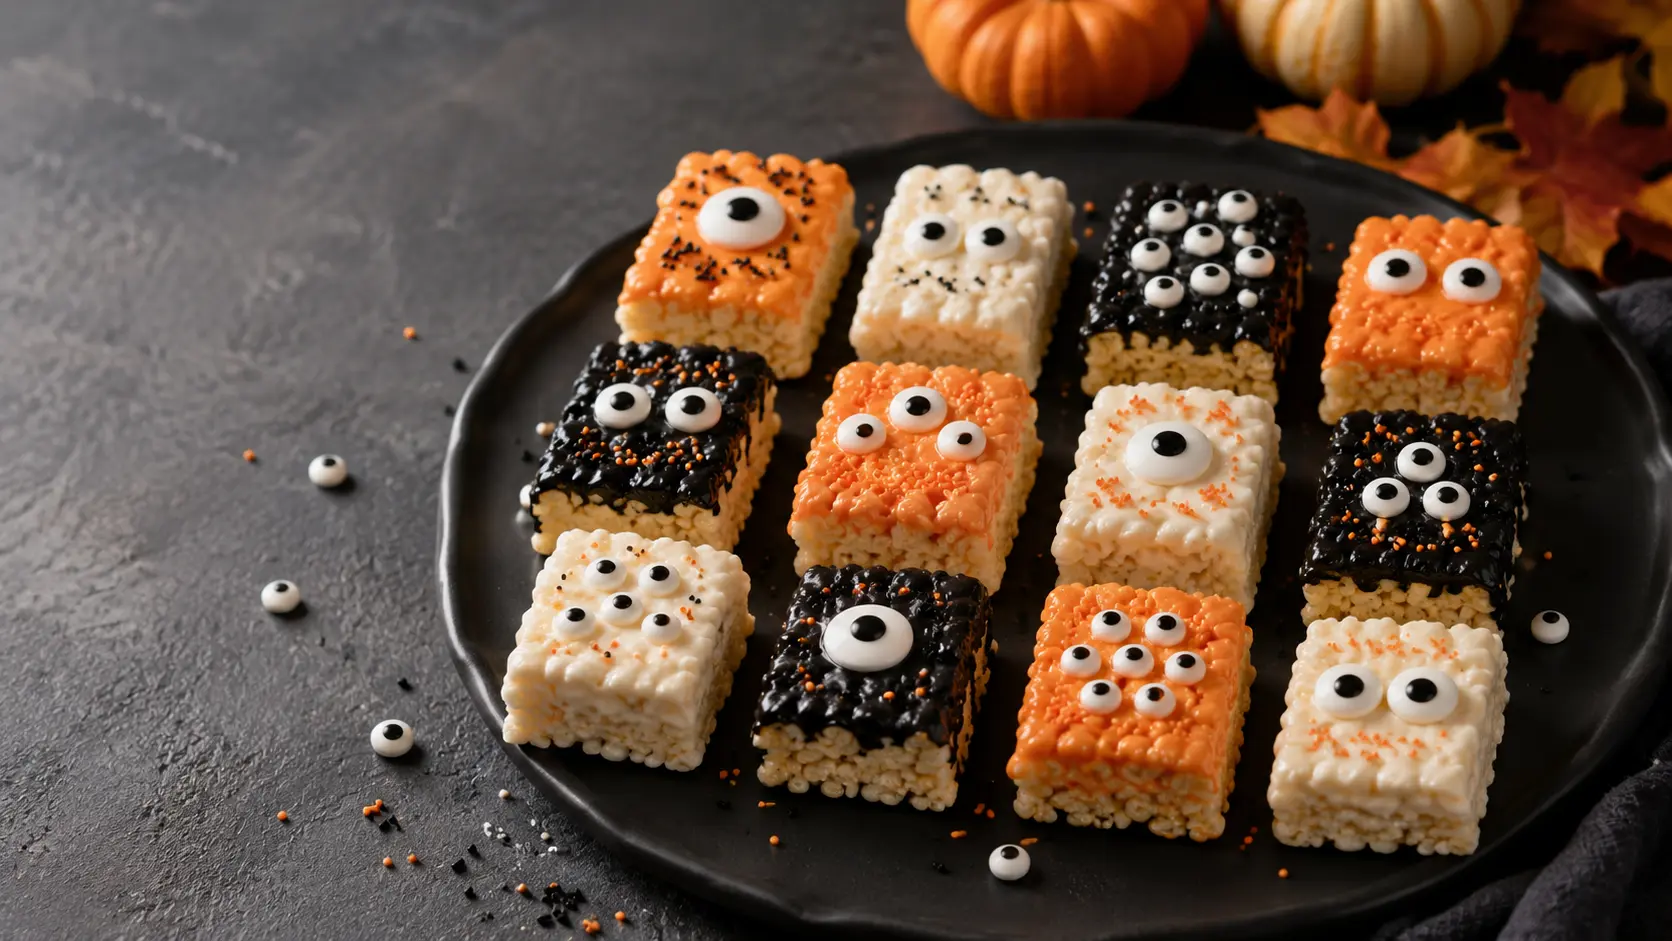
The first thing you notice about these Halloween Monster Rice Krispie Treats is the glossy candy coating and those wonderfully mismatched candy eyes. Underneath, the bars stay soft and chewy with plenty of crisp cereal for contrast. They’re a no-bake Halloween dessert made from buttery marshmallows, crispy rice cereal, and colorful candy melts.
This homemade version makes 12 generously sized treats in a 9 × 13-inch pan. You’ll need a little cooling time before cutting and decorating, but the hands-on work is simple enough for a family kitchen or a Halloween party afternoon.
Why You’ll Love This Recipe
- Makes 12 homemade Halloween treats from one 9 × 13-inch pan.
- Requires no oven; the marshmallow mixture is prepared on the stovetop.
- Produces a soft, chewy center with crisp cereal throughout.
- Uses three candy-melt colors for playful monster faces.
- Can be prepared 2–3 days ahead and stored at room temperature.
Ingredients
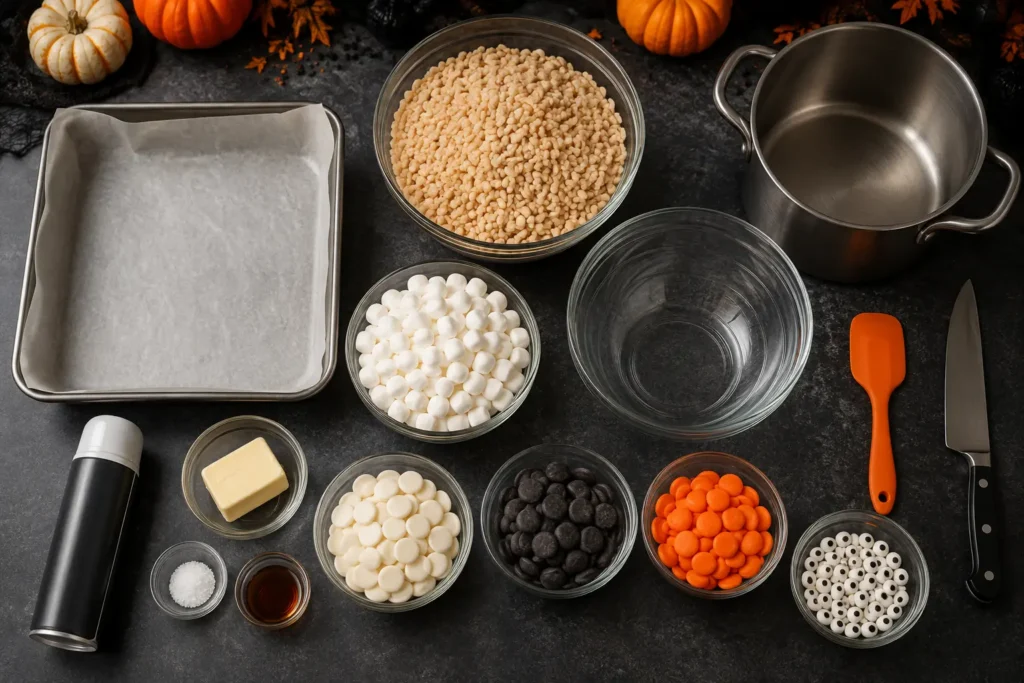
For the Krispie Treats
- 6 Tbsp unsalted butter (85 g)
- ¼ tsp kosher salt
- 10 oz mini marshmallows (about 6 cups or 283 g)
- 1 tsp pure vanilla extract
- 6 cups crispy rice cereal (about 150 g)
Use fresh mini marshmallows for the smoothest melt. Older marshmallows can lose moisture, melt unevenly, and contribute to tougher treats.
For the Decorations
- 6 oz white candy melts (170 g)
- 3 oz black candy melts (85 g)
- 3 oz orange candy melts (85 g)
- Candy eyeball sprinkles, as needed
Keep the candy melts in separate microwave-safe bowls so each color remains distinct and easy to use.
How to Make This Recipe
Step 1: Prepare the Pan and Cereal
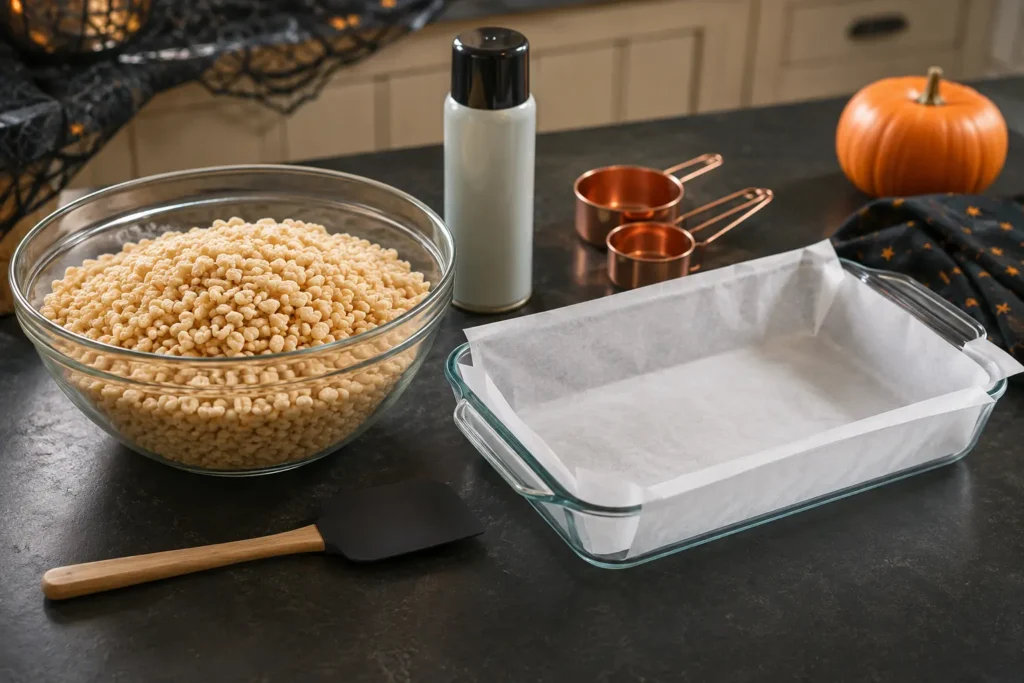
Line a 9 × 13-inch rectangular baking dish with wax paper, leaving enough overhang to lift the treats out later. Pour the crispy rice cereal into a large mixing bowl and set it near the stove. Have your spatula and nonstick cooking spray ready before melting the marshmallows, because the mixture thickens quickly.
Step 2: Melt the Butter and Marshmallows
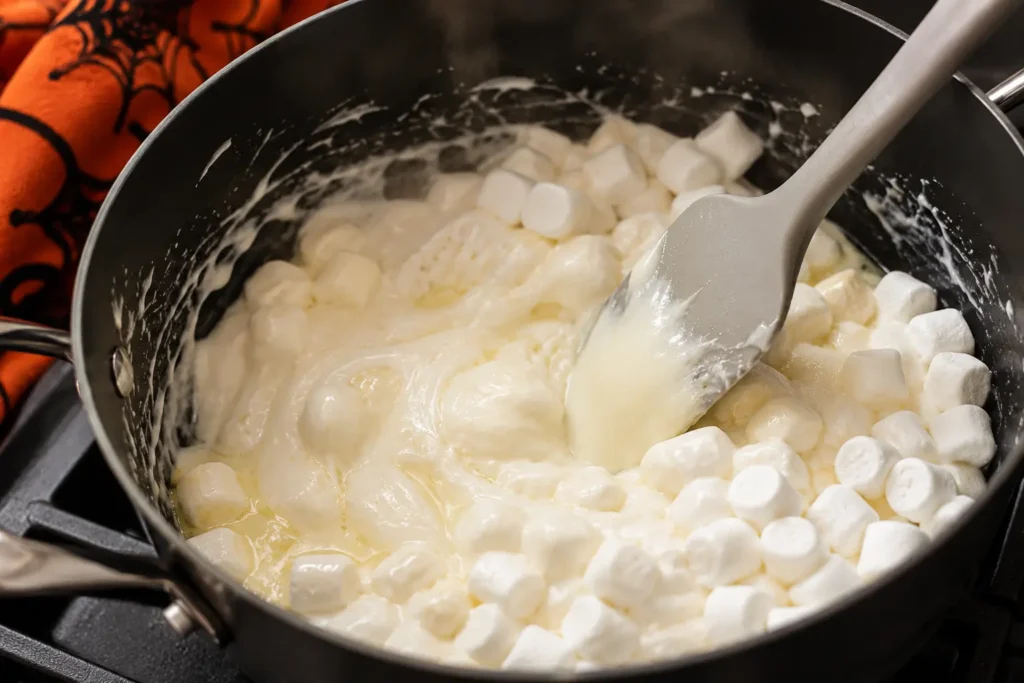
Melt the unsalted butter with the kosher salt in a large pot over low heat. Once the butter is liquid, stir in the mini marshmallows. Continue stirring until the marshmallows become completely smooth and glossy, with no visible lumps.
Pro Tip: Keep the heat low. High heat can overcook the marshmallows and leave the finished treats firm or chewy instead of soft.
Step 3: Add Vanilla and Coat the Cereal
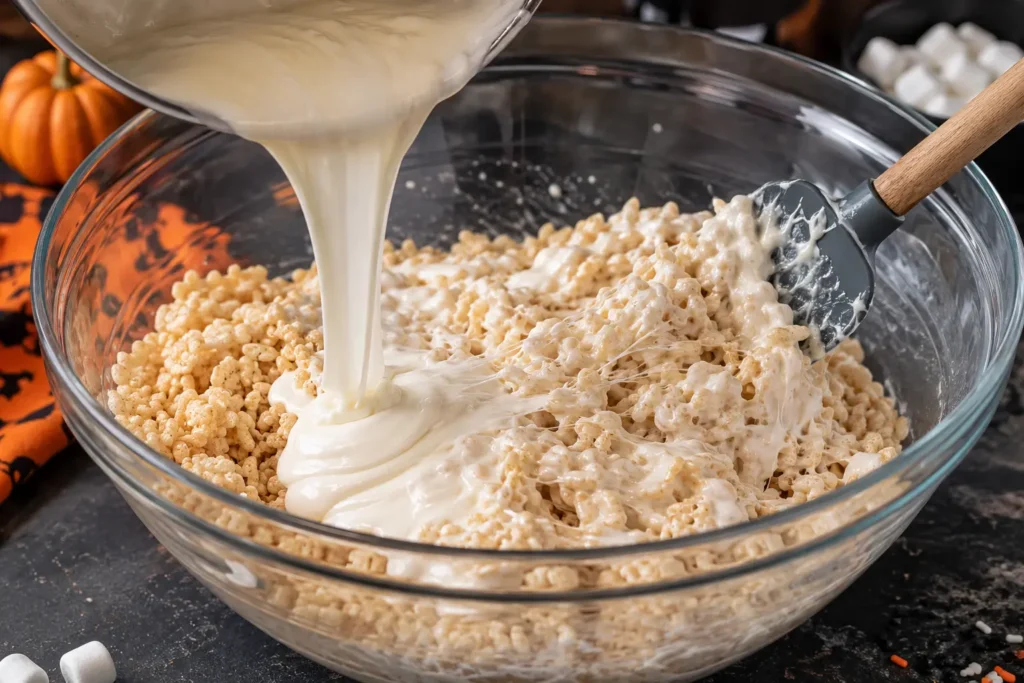
Remove the pot from the heat and stir in the vanilla extract. Immediately pour the melted marshmallow mixture over the cereal. Stir quickly with a rubber spatula until every piece is coated and no dry cereal remains.
Work while the mixture is warm and loose. Waiting too long can make it harder to spread evenly, while aggressive stirring can crush the cereal and reduce the crisp texture.
Step 4: Spread and Cool the Treats
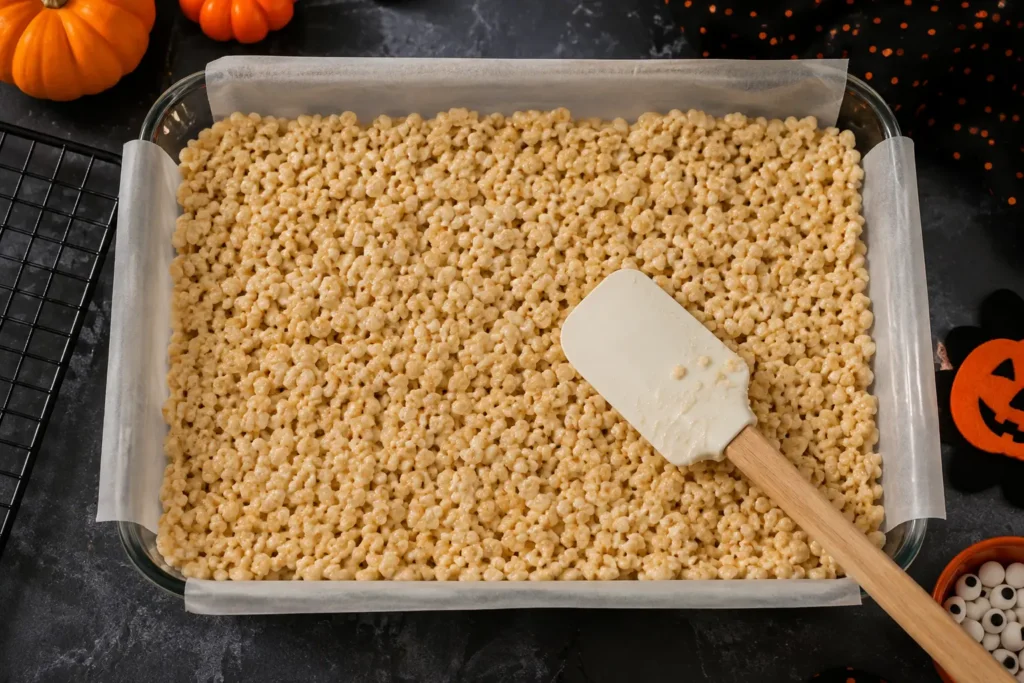
Transfer the coated cereal mixture to the prepared pan. Lightly coat the spatula with nonstick spray, then gently spread the mixture into an even layer. Don’t press down hard; compacting the bars makes them dense and less tender.
Let the treats cool completely, about 45–60 minutes. They should feel firm enough to hold their shape but not hard. Once cool, lift them from the pan using the wax-paper overhang and cut them into 12 rectangles with a sharp knife.
Step 5: Melt the Candy and Decorate
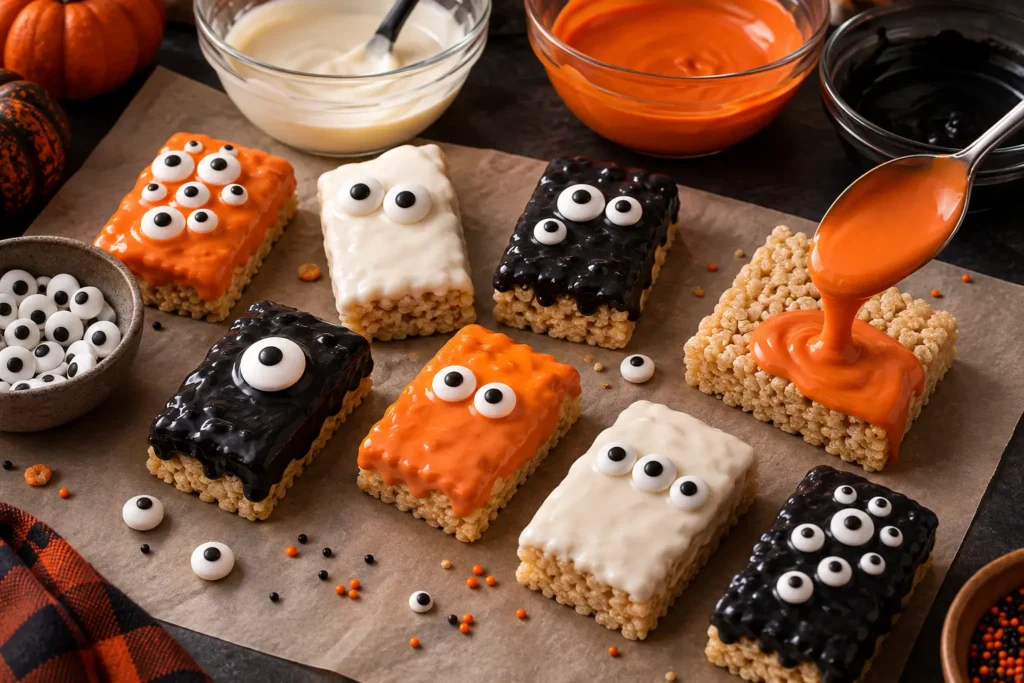
Place the white, black, and orange candy melts in separate microwave-safe bowls. Heat until smooth, stirring as needed; the source method allows approximately 1 minute per bowl, depending on microwave strength.
Dip each treat into the melted candy or spread the coating over the top with a spoon or offset spatula. Add candy eyeball sprinkles while the coating is still soft. Let the decorated treats rest for 30–45 minutes, or until the candy coating feels firm and dry.
Expert Tips for Better Results
- Use a true 9 × 13-inch pan so the 6 cups of cereal spread to the intended thickness.
- Keep the marshmallow mixture over low heat and stir continuously until smooth.
- Coat the spatula with nonstick spray before spreading to reduce sticking.
- Spread the mixture gently instead of compressing it into the pan.
- Cut only after the slab is fully cool so the rectangles hold clean edges.
- Add the candy eyes immediately after coating; once the candy melts harden, decorations may not adhere.
Serving Suggestions
- Arrange the monsters on a black or orange platter for a simple Halloween dessert table.
- Place each treat in a clear treat bag for party favors or classroom-safe individual serving.
- Set them beside bowls of candy corn and wrapped chocolates for a colorful sweets display.
- Serve with cold milk, hot cocoa, or apple cider to balance the sweet candy coating.
- Use different eye arrangements on each rectangle to create cyclops, wide-eyed, or silly monster faces.
Storage and Reheating
Store the finished treats in an airtight container at room temperature for 2–3 days. If you stack them, place wax paper between the layers so the candy coating and cereal bars don’t stick together.
Reheating isn’t recommended. These treats are ready to eat once the candy coating has set, and warming them can soften the cereal structure and make the coating tacky. Freezing guidance is not included because it was not specified in the approved recipe.
Ingredients
Method
- Line a 9 × 13-inch baking dish with wax paper. Pour the cereal into a large mixing bowl.
- Melt butter and kosher salt in a large pot over low heat. Stir in marshmallows until completely smooth.
- Remove from heat, stir in vanilla, and quickly mix the marshmallow mixture with the cereal until fully coated.
- Spread gently into the prepared pan without pressing firmly. Cool completely for 45–60 minutes, then cut into 12 rectangles.
- Melt the white, black, and orange candy melts in separate microwave-safe bowls until smooth.
- Dip or spread the candy melts over the treats. Add candy eyes while the coating is wet.
- Let the treats stand for 30–45 minutes, until the candy coating is firm.