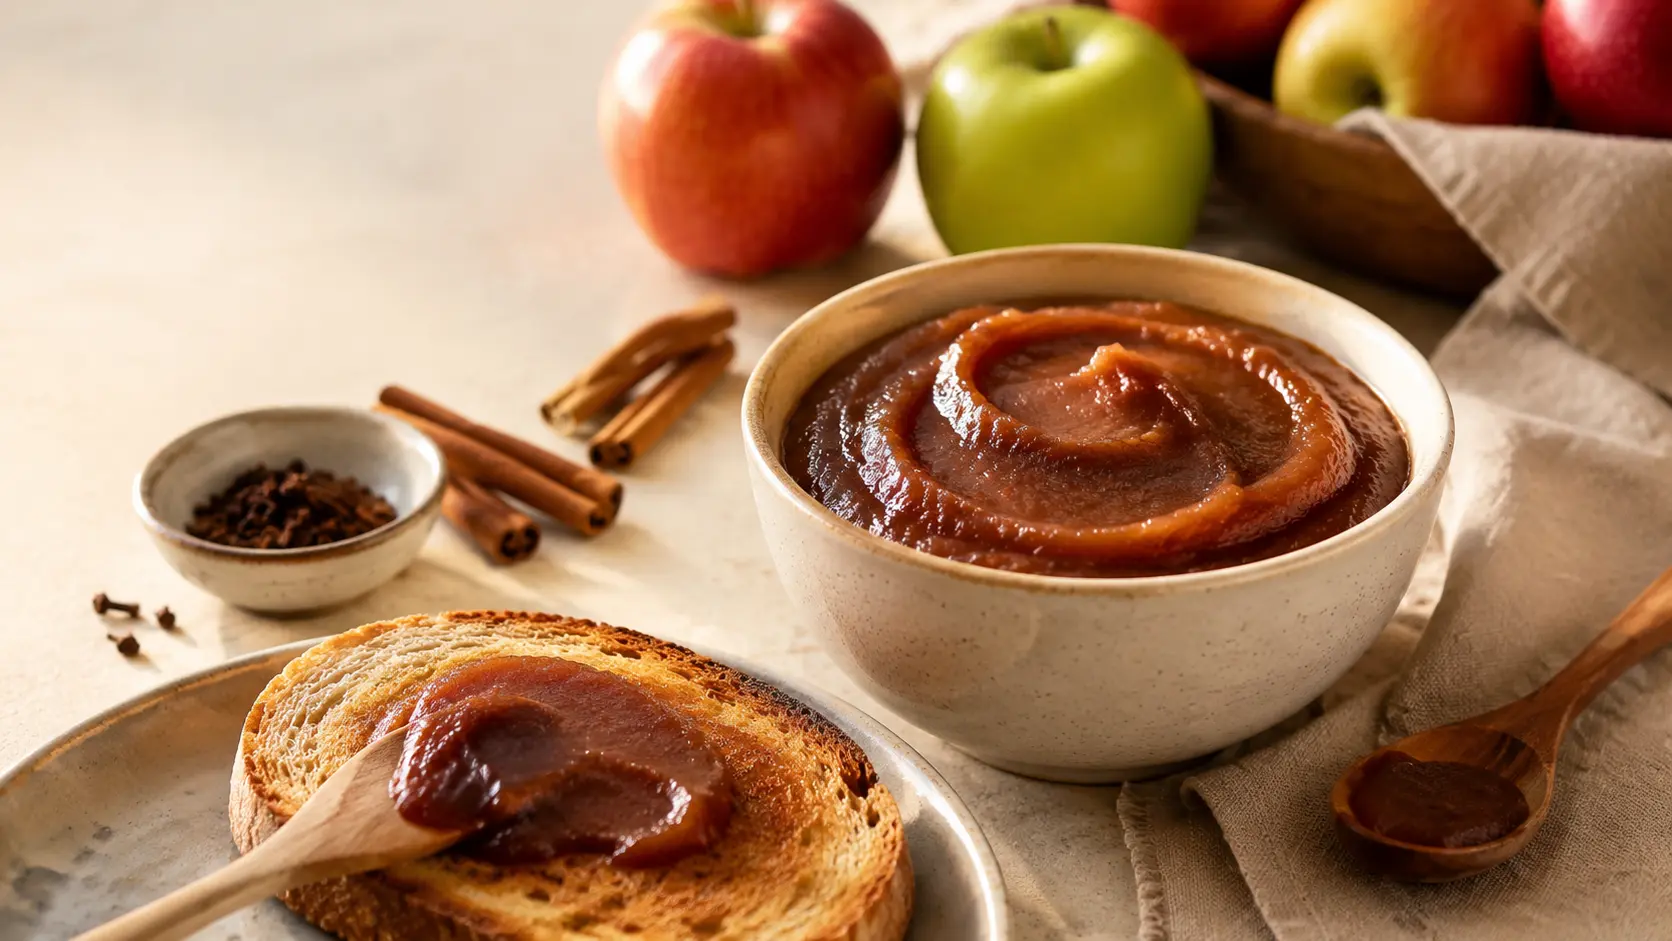
When fresh apples slowly cook with cinnamon and cloves, they turn into something far richer than ordinary applesauce. The mixture becomes dark, glossy, thick, and packed with warm apple flavor that makes your kitchen smell wonderfully cozy.
This Easy Homemade Slow-Cooker Apple Butter is a simple way to use a large batch of apples without standing over the stove. The slow cooker gently softens the fruit while the sugar and spices deepen its flavor. Spread it on toast, spoon it over oatmeal, or serve it with biscuits for an easy homemade treat.
Why You’ll Love This Recipe
- Uses fresh apples and five simple pantry ingredients.
- Requires one slow cooker and one medium mixing bowl.
- Makes approximately 4 pints, or about 128 one-Tbsp servings.
- Produces a thick, dark spread rather than loose applesauce.
- Can be refrigerated for up to 2 weeks or frozen for up to 3 months.
Ingredients
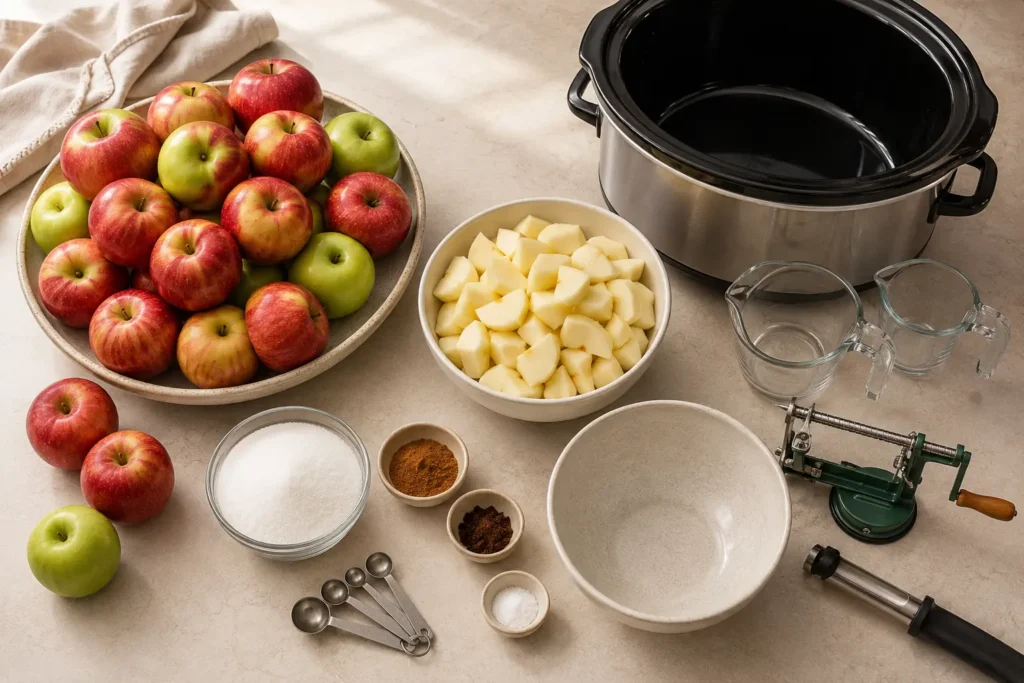
For the Apple Butter
- 5½ lb fresh apples, peeled, cored, and finely chopped — about 2.5 kg
- 4 cups granulated sugar — about 800 g
- 2 tsp ground cinnamon — about 5.2 g
- ¼ tsp ground cloves
- ¼ tsp salt
Use fresh apples in the approved form: peeled, cored, and finely chopped. The source does not require one specific apple variety, but apple sweetness and water content can affect the final cooking time and thickness.
A 6-quart slow cooker is a practical equipment clarification for this amount of apples, based on a comparable recipe using a similar quantity. The primary source does not state the cooker capacity, so avoid overfilling your appliance.
How to Make This Recipe
Step 1: Prepare and Season the Apples
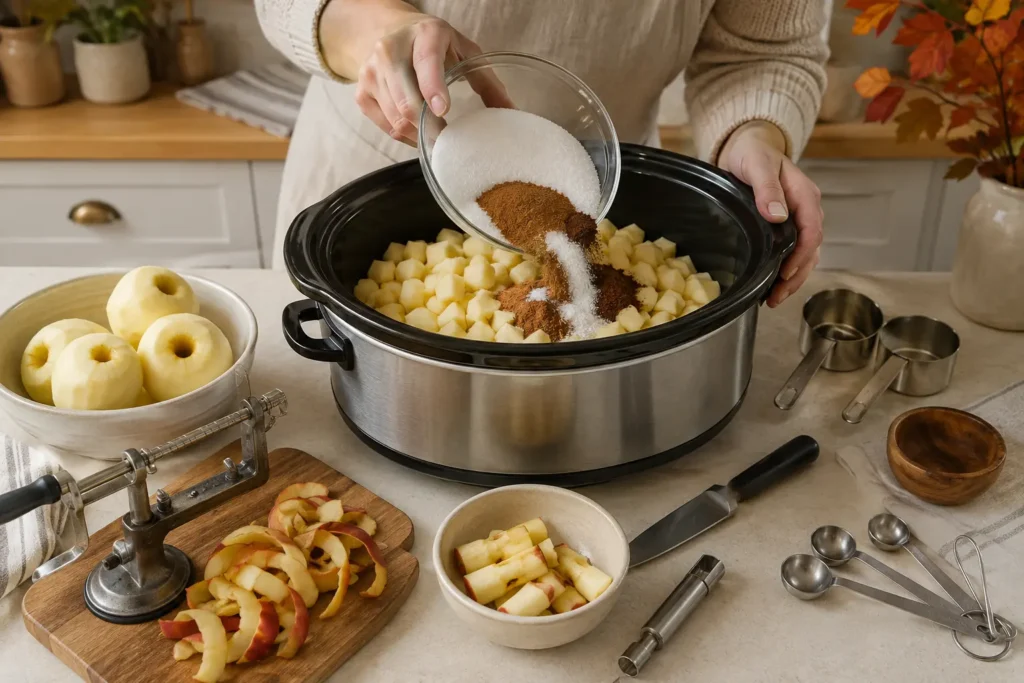
Wash, peel, and core the apples, then finely chop them. Measure 5½ lb, or about 2.5 kg, of prepared apples and place them in a 6-quart slow cooker. In a medium bowl, combine the granulated sugar, cinnamon, cloves, and salt. Pour the mixture over the apples and stir well until the fruit is evenly coated.
Pro Tip: Finely chopping the apples helps them soften and break down more evenly during the long cooking time.
Step 2: Cook the Apples on High and Low
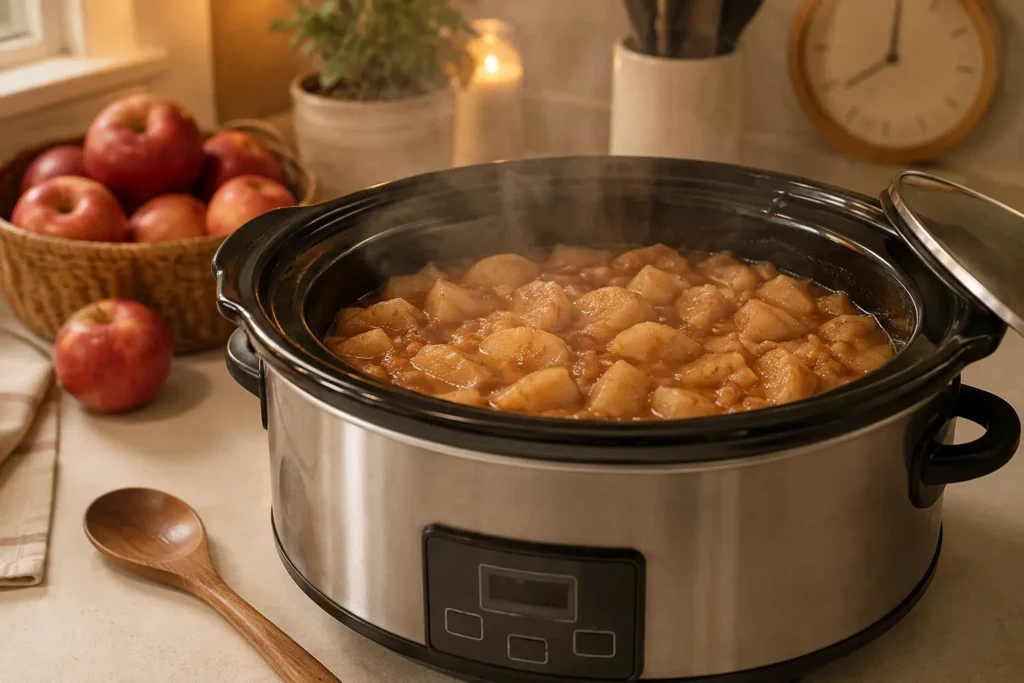
Cover the slow cooker and cook on High for 1 hour. Then reduce the heat to Low and continue cooking, covered, for 9–11 hours. Stir occasionally during the Low cooking stage.
The apples should become very soft, and the mixture should gradually turn thick and dark brown. Juicier apples may need the longer end of the cooking range. Do not expect the mixture to look like finished apple butter during the first few hours.
Step 3: Finish Uncovered and Smooth
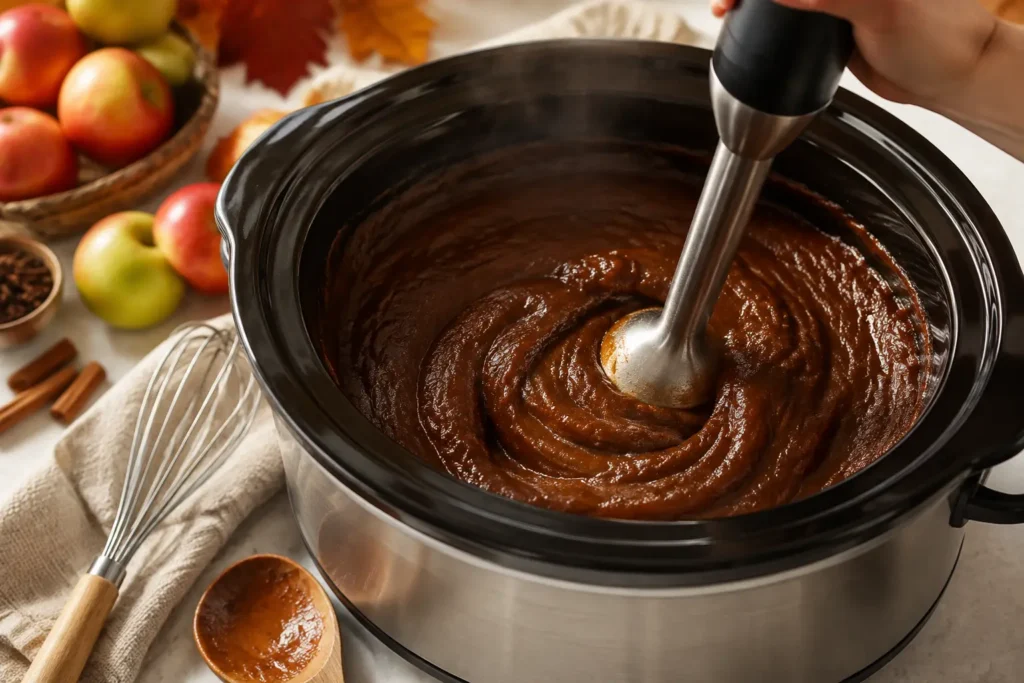
Uncover the slow cooker and continue cooking on Low for 1 hour. This final stage allows extra moisture to evaporate and helps the apple butter become thicker.
The finished mixture should be dense, dark brown, and spreadable rather than watery. The fruit should be fully softened, with little visible apple structure remaining. Whisk the mixture until smooth, or use an immersion blender for a more even texture.
A common mistake is stopping while the mixture still resembles loose applesauce. If too much liquid remains, the final apple butter will be thinner than expected.
Step 4: Cool and Store
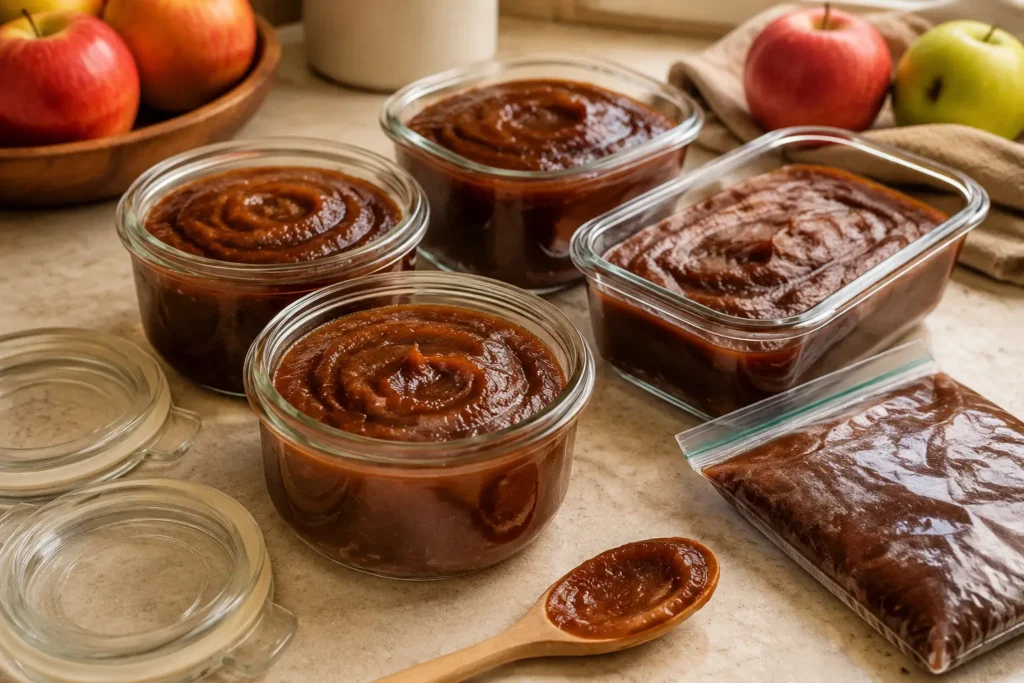
Let the apple butter cool before transferring it to clean, covered refrigerator- or freezer-safe containers. It may thicken further as it cools.
Refrigerate the apple butter for up to 2 weeks or freeze it for up to 3 months. If freezing, leave enough room in each container for expansion.
Expert Tips for Better Results
- Finely chop the apples before measuring them so the quantity remains consistent.
- Stir occasionally during the Low cooking stage to distribute the sugar and reduce uneven sticking.
- Use the texture and color as your main doneness cues, not the clock alone.
- Keep the lid off during the final hour so excess moisture can escape.
- Juicy apples may require more time to reach the thick consistency described in the recipe.
- Use care when blending hot apple butter because steam and splashes can burn.
Serving Suggestions
- Spread apple butter on toast, English muffins, or warm biscuits.
- Spoon it over oatmeal or plain yogurt for a simple breakfast.
- Serve it with pancakes or waffles instead of syrup.
- Pair it with roasted or grilled pork for a sweet contrast.
- Use it as a filling or flavoring for muffins, quick breads, and other baked goods.
Storage and Reheating
Refrigerator Storage
- Cool the apple butter before transferring it to clean, covered containers.
- Refrigerate for up to 2 weeks.
- Keep the containers sealed when not serving.
- The spread may become firmer when chilled; stir before serving if needed.
Freezer Storage
- Freeze the cooled apple butter in freezer-safe containers.
- Leave enough headspace for expansion.
- Store for up to 3 months.
- Thaw in the refrigerator before using.
- Stir well after thawing because the texture may become slightly looser.
Reheating
- Reheating is not required.
- Serve chilled, thawed, or at room temperature.
- If you prefer it warm, gently warm only the portion you plan to eat.
- The approved recipe does not specify a reheating temperature or time.
- Do not assume this formula is shelf-stable without following a separate tested canning process.
Ingredients
Method
- Place finely chopped apples in a 6-quart slow cooker. Combine sugar, cinnamon, cloves, and salt in a medium bowl. Pour over the apples and mix well.
- Cover and cook on High for 1 hour. Reduce heat to Low and cook, stirring occasionally, for 9–11 hours, until the mixture is thick and dark brown.
- Uncover and cook on Low for 1 additional hour. Whisk until smooth, or blend with an immersion blender if desired.
- Cool and transfer to clean, covered containers. Refrigerate for up to 2 weeks or freeze for up to 3 months.